Creating Bookstore REST API using Deno and PostgreSQL
Deno is a secure runtime for JavaScript and TypeScript. Deno was released its first version(v1.0) on 13 May 2020. Deno was created by Ryan…


Creating Simple REST API using Deno and PostgreSQL
Deno is a secure runtime for JavaScript and TypeScript. Deno was released its first version(v1.0) on 13 May 2020. Deno was created by Ryan Dahl, the same creator of node.js. The story behind the creation of deno is because Ryan Dahl was realize there’s a design system mistake while he creating node.js based on his talk on youtube.
In this article we will talk about creating a deno REST API with oak and postgreSQL. Before we start making the API, make sure you already install Deno on your machine.> deno --version
deno 1.0.2
v8 8.4.300
typescript 3.9.2
If you don’t have deno installed on your machine you can get deno and follow the instruction in the website here. And make sure you already have these program to follow this article :
The project structure will be like this :
├Before we start code into the app, we will create the database with name bookstore in our postgreSQL database and create the table inside.
In this file, we will configure the connection with postgreSQL database and using dotenv autoload module to autoload the .env file. It will export the client variable to connect with the database later.
Next we will configure the router.ts file.
Just like the name, router will configure our application router, in this case we will have 5 endpoints. Each endpoint will have its own handler that will created later.GET / to fetch all books from the database
GET /:id to fetch book with id equal to the parameter
POST / to insert data to the database
PUT /:id to update the data with id equal to the parameter
DELETE /:id delete data with id equal to the parameter
After we creating our router.ts file, then create the controller function for the endpoint handler function.
In our bookController, there will be 5 function, in this case i will using a class named BookController. Each function have parameter with the type of RouterContext. In the end, BookController class will exported into a new instance of BookController.
The context of RouterContext parameter have many data that we can access, but mostly we will just using the response and request variables. context.request variable is a variable that bring some request from our client. Meanwhile the context.response will take our response from the server back to the client.
To make sure our controller works well, create new file with name bookService.ts and inside the bookService there will be some logic to handle our data and return it to the controller.
And then the bookRepository.ts file. This file will contains a lot of queries that needed by the bookService.
bookModel.ts will contain a Book interface to represent our books table.
And finally our app.ts will be looks like this.
Now the testing part.
Run deno application that we made by typing this line in the command line.deno run --allow-env --allow-net --allow-read app.ts
Unlike node.js, deno need a permission to access our system. As deno is secure by default it doesn’t have any permission enabled.
- — allow-env flag will allow the deno program to access our environment variables.
- — allow-net flag will allow network access.
- — allow-read flag will allow file system read access.
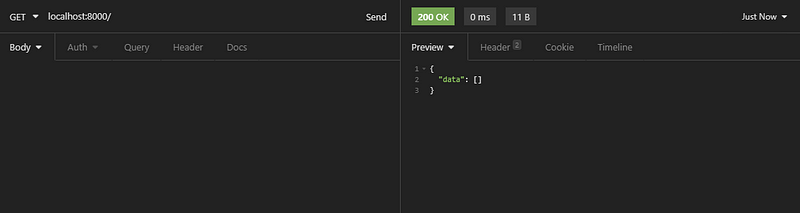
| GET /

Of course if we hit the endpoint, it will response with empty array because we don’t have any data yet in the database.
| POST /

Change the body to JSON and input the JSON with structure like this.{
"title": "Deno REST API",
"author": "Zainokta",
"price": "500000"
}
Then let’s check the GET / endpoint to check whether our data is present.

Voila! Now we can see our data from the response.
Now let’s update the data with PUT /:id endpoint

Then to see if the data has been changed, you can use GET / or GET /:id . In this case, i will use GET /:id endpoint to check if our endpoint works.

And the last endpoint will be DELETE /:id, this endpoint will delete our data in the database with id equals to the parameter.
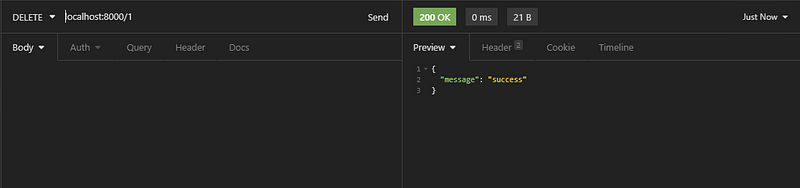
Now check the GET / or endpoint to get all books
Of course the data will be empty because we was deleting it.
You can access the full code from my github repo here.

This is my first article, im sorry if there are some mistake or misspelled word(s) or bad grammar, thank you for reading.
ENJOY!